Best Savage Bolt lift kits

Blackc4t

New member
Joined
Feb 17, 2026
Messages
1
I’m tinkering with my Savage 10BA Stealth (.308) and looking for a solid bolt lift kit. I’ve already polished the surfaces, which helped, but I want that lift to be even lighter.
Has anyone tried the kits from Desh Industries or Lumley Arms? Are they worth the cash, or are there any kits I should avoid before I buy?
 
I've tried the Desh and Lumley Arms and found disappointment in both. For me, they did nothing to help the bolt lift.

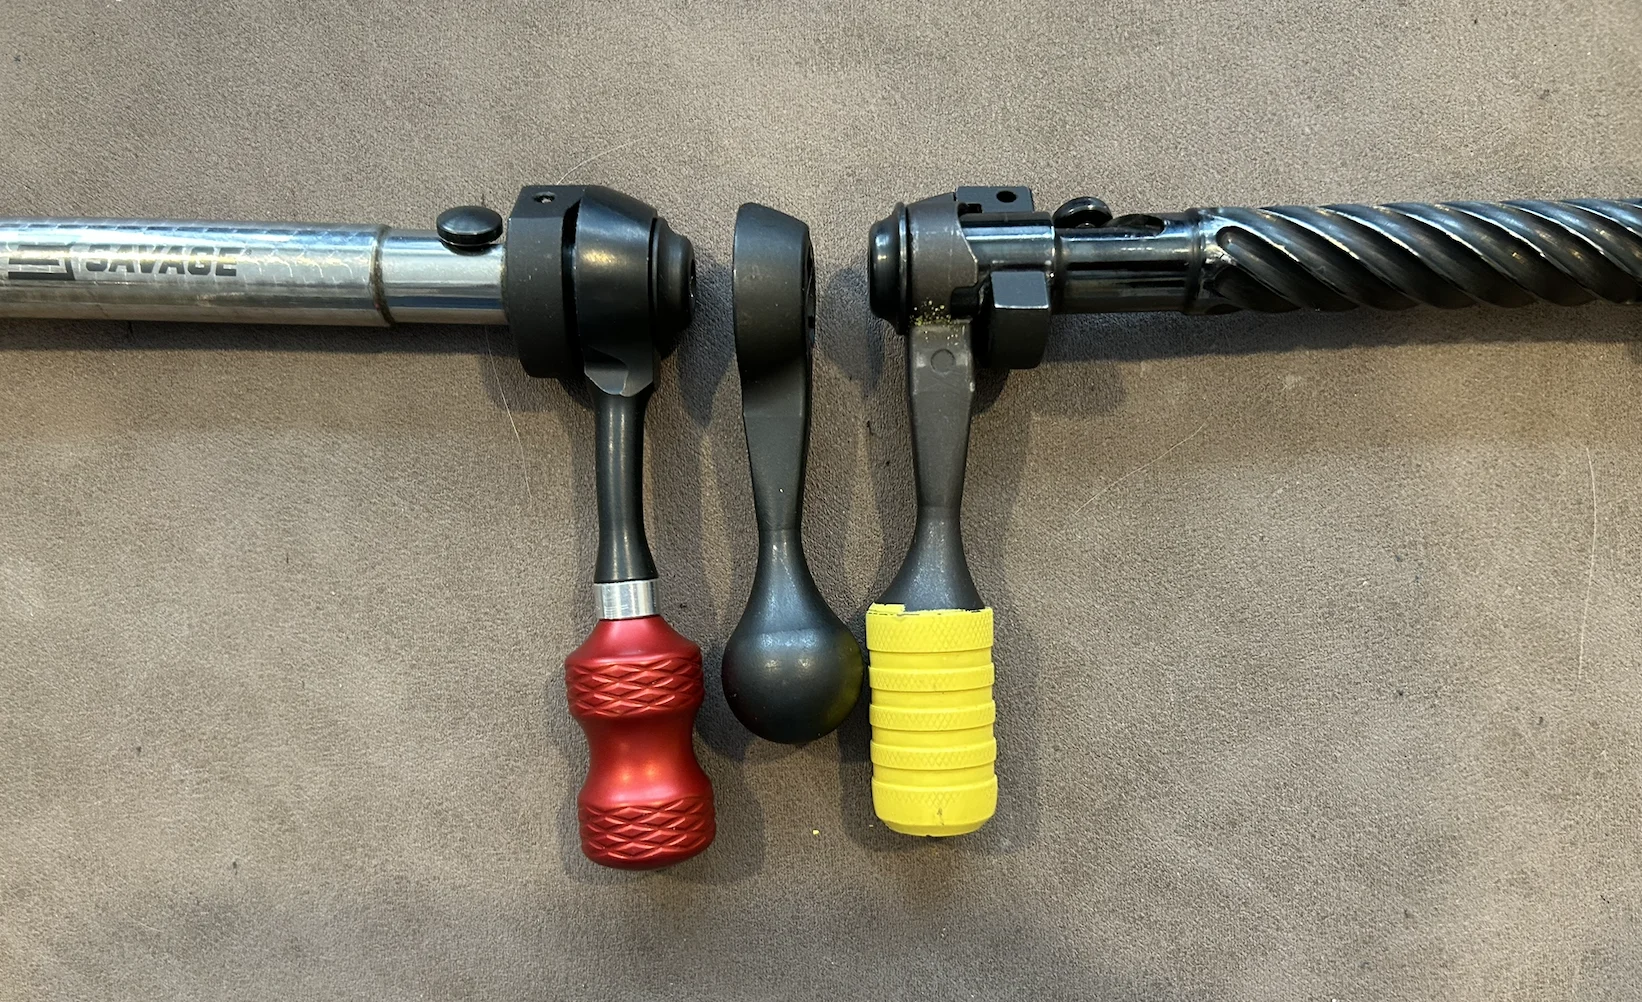
However, where I found the advantage was in an extended bolt handle and longer bolt knob. Over all I think it's about an inch longer over the factory handle. The extra leverage was a noticable change for me over either of the other two mentioned.

The factory knob is center. The yellow one is setup for 20 Practical and the red one is setup for 6mm.

Screenshot 2026-02-19 at 8.43.48 AM.webp
 
A bit of work, including the lift kit & bolt handle, as well as some other inexpensive tweaks, can reduce bolt lift a considerable amount. Many have achieved this same level without the need to send your rifle to someone for more expensive work. But, to each their own.


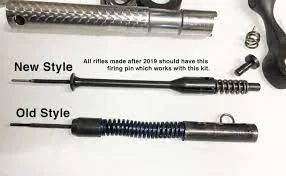
As for the “best”, it’s relative. The best style is the single, center ball. The newer firing pin only accepts the multiple bearing style with center hole. However, the entire firing pin assembly can be replaced. Gun Shack has all necessary parts.
 
I installed a Desh bolt lift kit and a Glades Armory bolt handle and knob. I also buffed the bolt body where the cocking piece runs and put a dab of firearm grease there also. The combination of all of these has made the lift effortless.
 
A bit of work, including the lift kit & bolt handle, as well as some other inexpensive tweaks, can reduce bolt lift a considerable amount. Many have achieved this same level without the need to send your rifle to someone for more expensive work. But, to each their own.


As for the “best”, it’s relative. The best style is the single, center ball. The newer firing pin only accepts the multiple bearing style with center hole. However, the entire firing pin assembly can be replaced. Gun Shack has all necessary parts.


Can I ask what operations were performed to achieve this lift ?
After looking over mine, I have come to the conclusion that the majority of the bolt lift is a combination of the overwound firing pin spring and the steep cocking ramp.
Im using my rifle for benchrest competition and a lift like this would be very helpful to me. Thanks!
 
I can tell you the Savage 110 striker firing pin spring is one of the heaviest. It is much heavier than required to light the primer.

Which firing pin striker does your rifle use?
1773755629815.webp
 
I also tried the Desh kit and found that it did not help on my Model 12 action.

It has the older style firing pin ass.

I was thinking of removing 1 turn on the spring to see if it would help and also fire a primer in a empty case.

Right now I am having the stainless bolt handle machined down and threaded so I can install a longer extension to it.

I that dont help then I will try the spring modification.

Anyone got other suggestions ?
 
(This is an Update for future readers, members. I previously left out the bulk.)
Have you done the modifications to the Bolt Sleeve? Smoothing, polishing the edges? Also smoothing the “Nub” at the top of the cocking ramp? And install a 1/4-28 set screw in the back of the Cocking Piece, to stabilize the Cocking Piece Pin? And yes, clipping a coil from the spring is fine. The factory springs are way over powered! I still recommend using a Lift Kit. But the single bearing ball works best. Also, the hardest materials provide the best performance. I make my lift kits by first machining a Titanium Bearing Plate and pressing in Silicone Nitride Bearing Ball. Then drilling/pressing in a piece of Tungsten Carbide Rod into the BAS, as the opposing surface for the bearing ball. I don’t have a pic of the bearing plate. (Gave the ones I had away.), but here is the BAS and Tungsten rod I use. The surface of the Tungsten gets smoothed polished as much as I can.


Here is the “nub” at the top of the boot sleeve cocking ramp. And how mine looks. Leave just enough that the Cocking Pin can’t slide off.


This is the 1/4-28 set screw. Short one- 5/32” or 3/16” long I think. Doing this stabilizes the Cocking Piece Pin, preventing it from being cocked from the side load on the pin head. This helps retain several thous. of pin fall, and makes the assembly more efficient.


I also had threaded my factory Bolt Handle. And made a longer polymer bolt knob. (I made a Titanium Bolt knob for my rifle.). I sold the factory handle. It came out decent.
 
I also tried the Desh kit and found that it did not help on my Model 12 action.

It has the older style firing pin ass.

I was thinking of removing 1 turn on the spring to see if it would help and also fire a primer in a empty case.

Right now I am having the stainless bolt handle machined down and threaded so I can install a longer extension to it.

I that dont help then I will try the spring modification.

Anyone got other suggestions ?

By the way Spudgun, look at Post #8, I linked a video of my Bolt Opertion & subsequent “Bolt Lift” effort. Or lack there of, I should say.😉 This is proof that these little tricks work. My bolt operation was 1-finger. And NO, it’s not being held down. The rife was simply sitting in one of those polymer stands. Thing only weighs like 10oz. or so.
 
Hey one-ten thanks for the info and pics there's a couple of things in there I can do that'll help with easing the bolt lift. In the picture of the set screw the one without the screw doesn't look like it's threaded but it could just be my old eyes. 🤓
 
Hey one-ten thanks for the info and pics there's a couple of things in there I can do that'll help with easing the bolt lift. In the picture of the set screw the one without the screw doesn't look like it's threaded but it could just be my old eyes. 🤓
Yeah, don’t think it was. But look through the hole, can see it’s threaded at the opposite end, up the hole. Simply continue threading from that side with a 1/4-28 tap, until going all the way through. Or, just use the Tap to start new threads from the back. Either works.
 
Yeah, don’t think it was. But look through the hole, can see it’s threaded at the opposite end, up the hole. Simply continue threading from that side with a 1/4-28 tap, until going all the way through. Or, just use the Tap to start new threads from the back. Either works.
I might be able to go from the existing thread to the other end, always better to go with the guide if you got it. do you recommend cutting off one full turn of the spring or would that be a risk? If it isn't a risk then I'm all for giving it a try. I'm basically doing all the things I can to make this axis in 223 work and perform like a higher price rifle but not look expensive at the same time the one thing that is going to make it look like it costs more is the scope it looks pricier than it is at under $250 but it's capable of getting the job done that I need it for that's what matters.
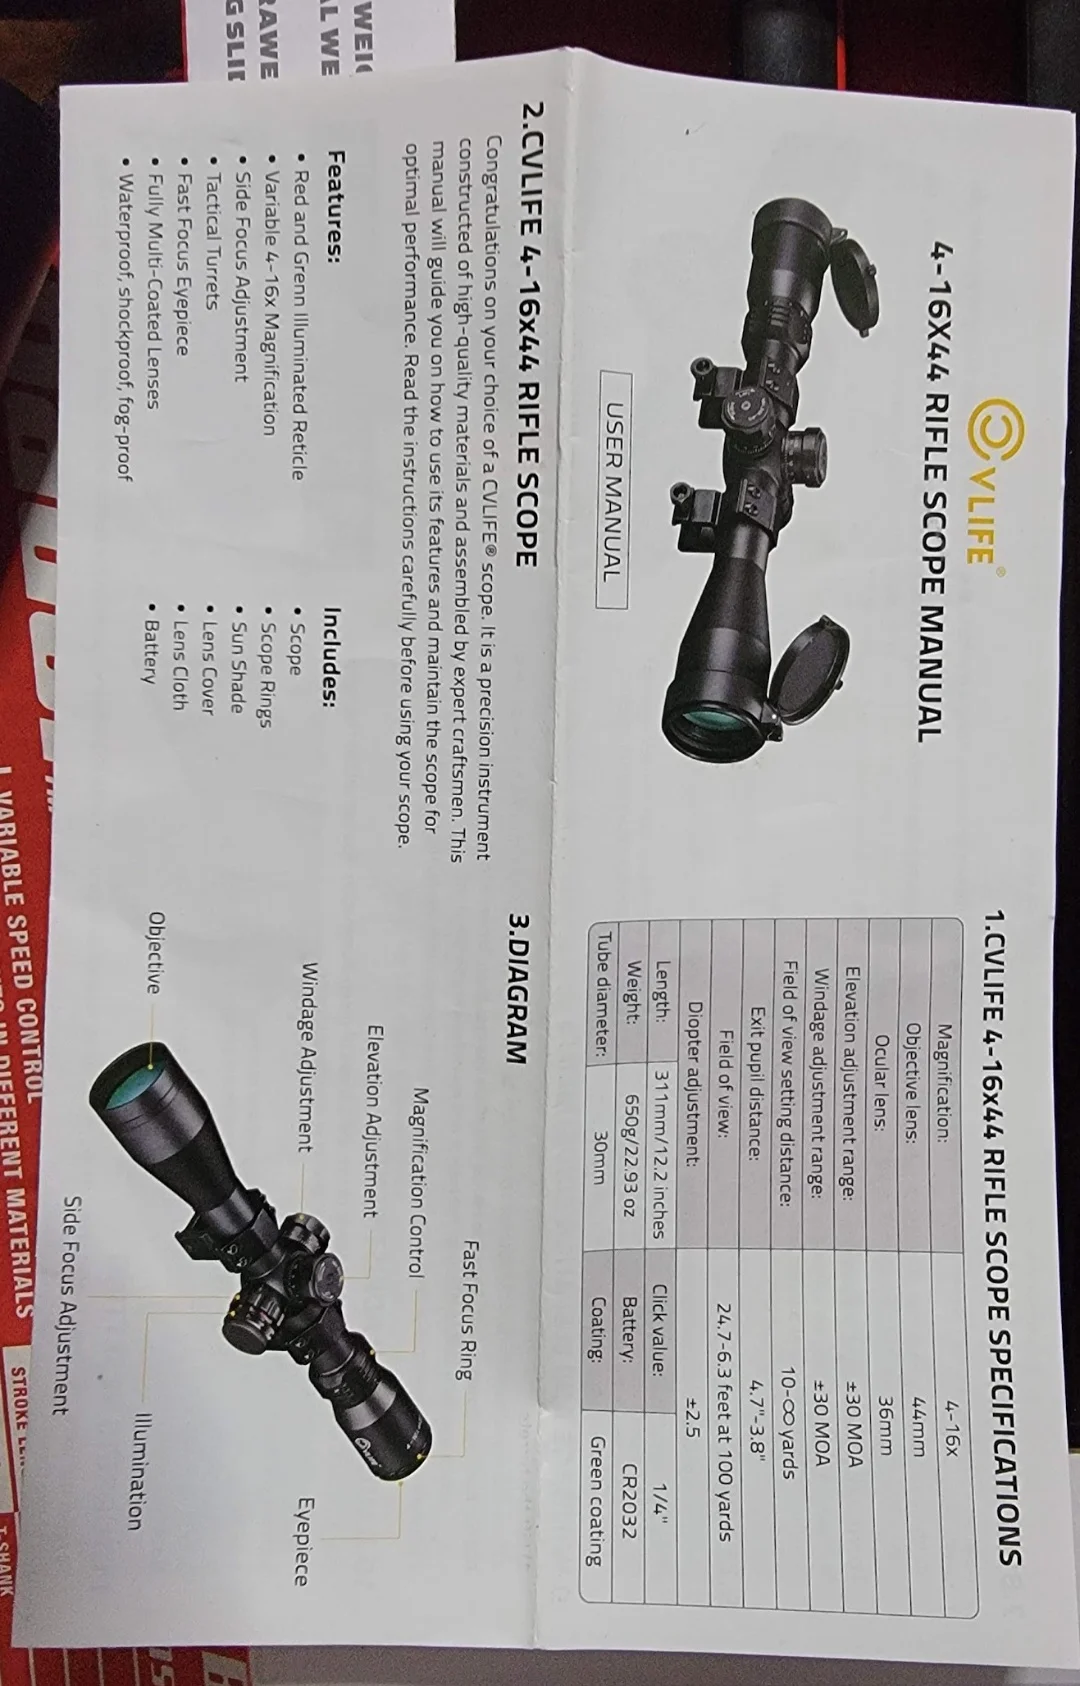
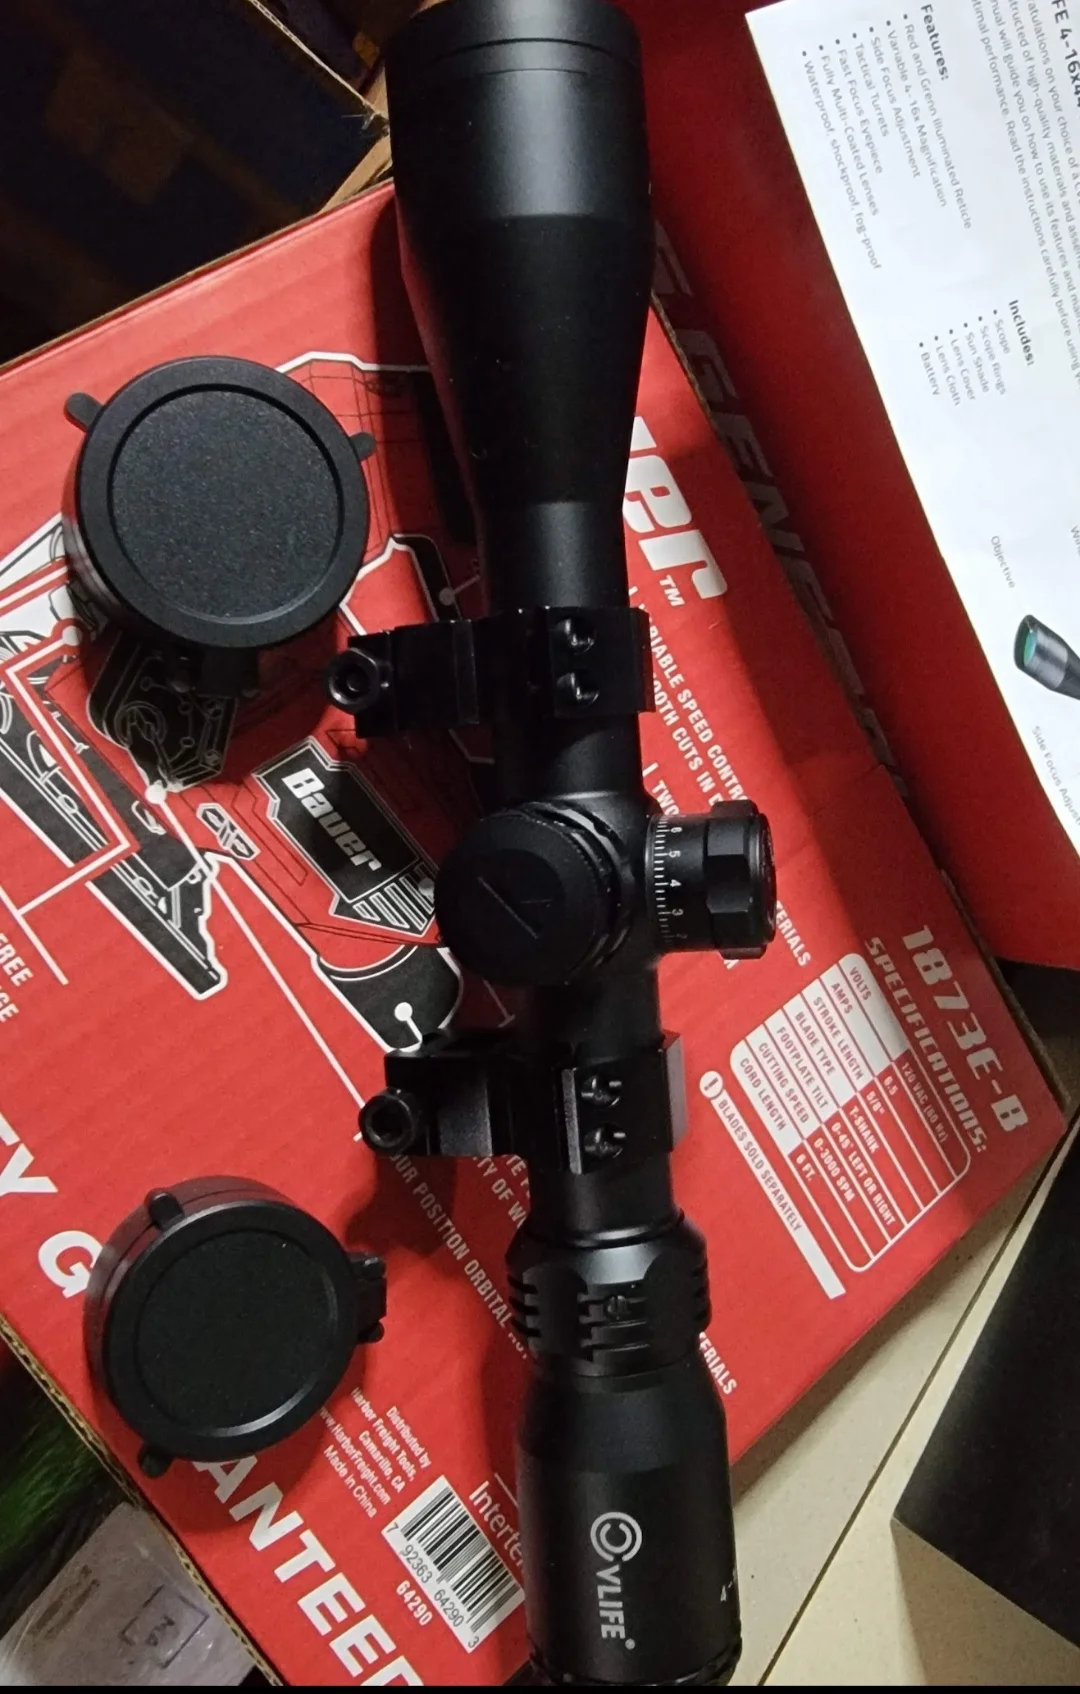
Screenshot_20260319_023323_Photos.webpScreenshot_20260319_023318_Photos.webp
It came with a sunshade and it is metal I expected plastic always good to get a pleasant surprise now and then. ☺️
Thanks again and I might be interested in the bearing kit if it fits the older style I'll wait to see how much improvement the other tricks help 🙂
 
Last edited:
I might be able to go from the existing thread to the other end, always better to go with the guide if you got it. do you recommend cutting off one full turn of the spring or would that be a risk? If it isn't a risk then I'm all for giving it a try. I'm basically doing all the things I can to make this axis in 223 work and perform like a higher price rifle but not look expensive at the same time the one thing that is going to make it look like it costs more is the scope it looks pricier than it is at under $250 but it's capable of getting the job done that I need it for that's what matters.
View attachment 533View attachment 534
It came with a sunshade and it is metal I expected plastic always good to get a pleasant surprise now and then. ☺️
Thanks again and I might be interested in the bearing kit if it fits the older style I'll wait to see how much improvement the other tricks help 🙂

Oh, you have an Axis? Ok, your rifle uses the 1-piece firing pin. So it doesn’t use the Cocking Piece like the one I’ve outlined. There are lift kits. The thrust bearing type. Also, make sure your spring is the 2-spring setup, with a spacer coil between them. No, don’t clip coils from this setup. It’s not the same as the adjustable firing pin from the older 110’s. Polishing the Sleeve & smoothing the “nub” still apply. You can do those.

I actually setup an Axis bolt with an adjustable firing pin, for a member of S.Shooters, a few years ago. There is a bit of work, as a LA firing pin needed, but it must be cut, reshaped & rethreaded. Not terrible, but a bit of custom work that requires know how.
 
Oh, you have an Axis? Ok, your rifle uses the 1-piece firing pin. So it doesn’t use the Cocking Piece like the one I’ve outlined. There are lift kits. The thrust bearing type. Also, make sure your spring is the 2-spring setup, with a spacer coil between them. No, don’t clip coils from this setup. It’s not the same as the adjustable firing pin from the older 110’s. Polishing the Sleeve & smoothing the “nub” still apply. You can do those.

I actually setup an Axis bolt with an adjustable firing pin, for a member of S.Shooters, a few years ago. There is a bit of work, as a LA firing pin needed, but it must be cut, reshaped & rethreaded. Not terrible, but a bit of custom work that requires know how.
Well alrighty then I believe I have been mislead by the "experts" around me and on the internet!🙄😆
This is why I hesitated about doing (or attempting) any of the things most of them have suggested because I just couldn't trust the quote "the axis an 110 are very similar to each other the axis is just in a cheap stock "
Yeah fellas if that's the case then why the considerable price difference? 🤔
I'll work on the polishing and the nub I may do the bearing kit just a case of wait an see how much the other part helps.
Thanks again!😊
 
Well alrighty then I believe I have been mislead by the "experts" around me and on the internet!🙄😆
This is why I hesitated about doing (or attempting) any of the things most of them have suggested because I just couldn't trust the quote "the axis an 110 are very similar to each other the axis is just in a cheap stock "
Yeah fellas if that's the case then why the considerable price difference? 🤔
I'll work on the polishing and the nub I may do the bearing kit just a case of wait an see how much the other part helps.
Thanks again!😊


You could try one of these?
https://lumleyarms.us/parts-by-make...avage-10-110-bolt-lift-kit-2019-on--new-style

It’s two different sets of different weight springs, with Delrin Isolators.
 

Latest posts

Back
Top